3D Scan inspection
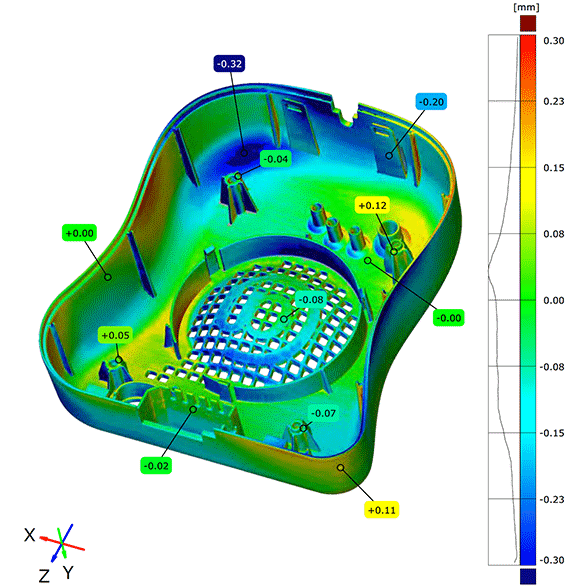
Comprehensive inspection
Analyse and validate your parts
3D inspection by comparison is a modern and highly effective way of analysing and validating numerous parts.
Following the acquisition of your part geometry by 3D scan, we perform a comprehensive inspection of your part.
Why inspect your parts?
Analysis of dimensional and/or shape differences between the nominal file and the scanned part will enable:
- a preventive inspection to validate the production/manufacture of your prototypes and/or pre-production parts.
- an approval inspection: to inspect a batch of samples during production.
- a corrective inspection when problems or discrepancies appear during the production cycle.
A complete inspection report that is easy to interpret.
Download the inspection report
Quality and precision
3D inspection phases
The exceptional quality and precision of the digitisation operations make the comparative 3D inspection one of the most captivating uses.
The 3D inspection comprises 3 phases:
- 3D scanning: this produces a point cloud.
- Three-dimensional skew correction or realignment: the cloud is positioned on the DFN leadframe (nominal CAD).
- Comparison of the nominal model and the scanned model: creation of the inspection report.
This process also enables the comparison of physical parts, such as in the analysis of similar parts take from different tools.
Types of inspection
Thanks to the specific aspects of this method, we can propose several types of inspection:
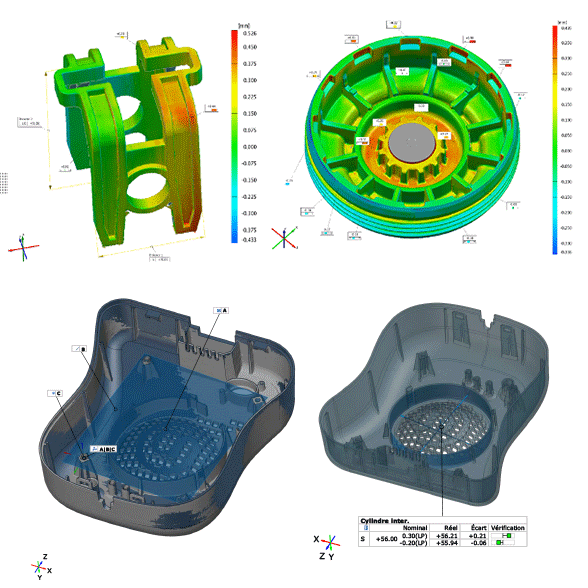
- Deviations from nominal.
- Part thickness.
- Deformation under load.
- Geometry of unattached or assembled parts.
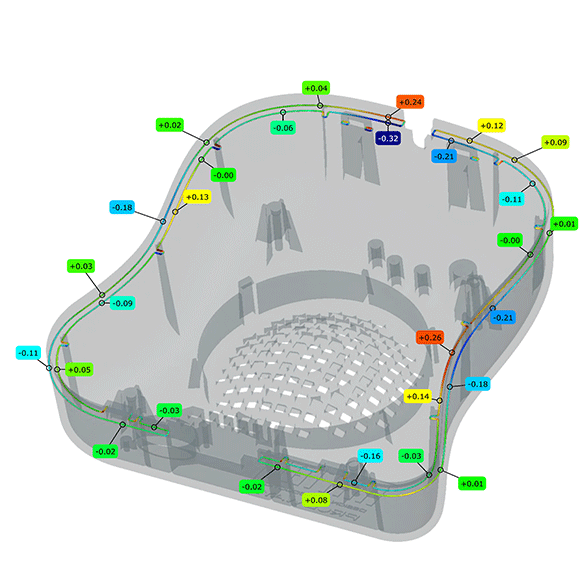
- Dimensional and geometric measurements with trend analysis.
Deliverables
Inspection report and 3D file for fine, detailed analysisFor an inspection, we deliver 2 items to our customers, namely a 2D report in .pdf format, which collates images with false colour plots, geometrical measurements and tolerances on demand and a 3D file, along with an open-source viewer to enable fine, detailed analysis.
- Type: Inspection report
- Formats: 2D pdf and 3D GOM
- Benefits: extremely simple to use and interpret, possible to customise and particularly efficient with complex geometries.
- Limits: unsuitable for prismatic geometries produced by CNC machining.
A dedicated team
Our strengths
Our team guarantees outstanding responsiveness and high-precision measurements.
We hold the VDI acceptance test certificates for our digitisation equipment and annual calibration reports for our calibration systems.
- The inspection report we deliver is a precious tool that eliminates doubts on possible defects and guarantees the conformity or validity of your production.
- The inspection covers the whole part to offer a comprehensive inspection.
- Simultaneous verification of geometry and dimensions.
- Highlighting and description of defects related to plastic injection moulding (burrs, shrinkage, deformations, etc.) or manufacturing techniques based on plastic deformation.
- Interpretation of the control report is immediate and easily accessible to non-experts.
- 3D viewing software enabling the easy creation of sections and dimensions, for precise verification of deviations at all points of the scanned geometry, even at a later time.
( Creo, Geomagic Design X, Rhinoceros 7, etc.)
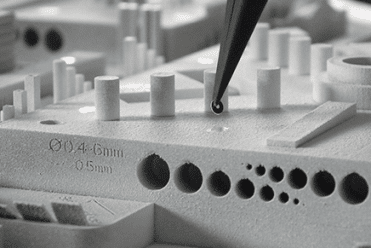
3D scanning
We use our 3D optical scanner to capture the geometrical form of your parts and transform the data into a 3D file.
3D scanning
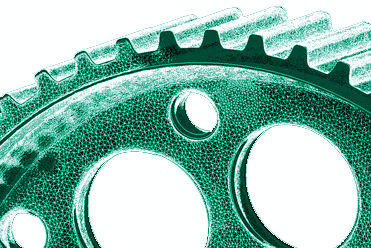
Reverse engineering
Transform the data from a 3D scan into a file fully compatible with your CAD software.
Find out more
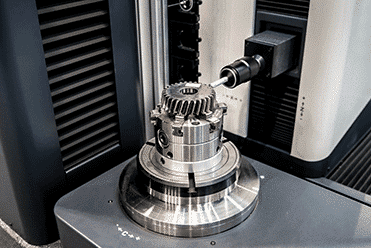
Metrology and tomography
2D and 3D measurements or geometrical analysis with conventional optical or X-ray equipment.
Find out more